How to check horizontal side levels of point laser
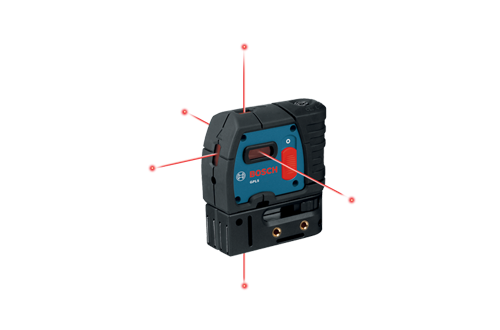
This procedure described here is for checking the side level of Bosch make Point Laser. Tool used in this setup on GPL 5, point laser. Select a plain wall where test can be performed.
- Mount the Point Laser on sturdy tripod. Ensure that tripod should not move for any reason, like wind or vibration being caused by some machinery working nearby. Place tripod with point laser 20 meters away from the wall.
- Switch on the point laser observe one point on the floor. Measure distance from point on floor to the wall as 20 meters.
- Focus one side of laser point on the wall perpendicular. That is wall and laser point line should be 90 degree. Mark the centre of laser point on the wall as A.
- Now turn the point laser 180 degree with our disturbing the height / level. Laser point should be in straight line with earlier mark. Now mark the centre of laser point on the wall as B.
- Measure the straight-line distance between the point A and B, it should be less than the device specification.
Example if levelling accuracy of device is +0.3 mm/m than use the following table to check your device.
| For Distance | Distance between A and B to be less than |
|---|---|
| 10 meters | (10 x 0.3) = 3 mm |
| 15 meters | (15 x 0.3) = 4.5 mm |
| 20 meters | (20 x 0.3) = 6 mm |
Note this is only a field test procedure for Bosch Point Laser. This test procedure is not a calibration procedure. For device calibration please contact the company representative or NABL accredited calibration Laboratory. This test should be preformed by qualified person, or under the supervision of qualified person. Repeat the test many times and calculate the average for better results. Hope this description was useful to you. For further details you may refer product manual.